

The Secret to Dramatic Photo Editing
Carson Au, Official Photographer, Animal Liberation Conference
This is a guide for photo editing. If you are looking for tips on how to take better photos during an event, check out “TOP 5 TIPS FOR BETTER EVENT PHOTOGRAPHY.”
Prerequisite: This guide assumes you already have basic working knowledge with Adobe lightroom. If this is not the case, I recommend watching a youtube tutorial such as this one.
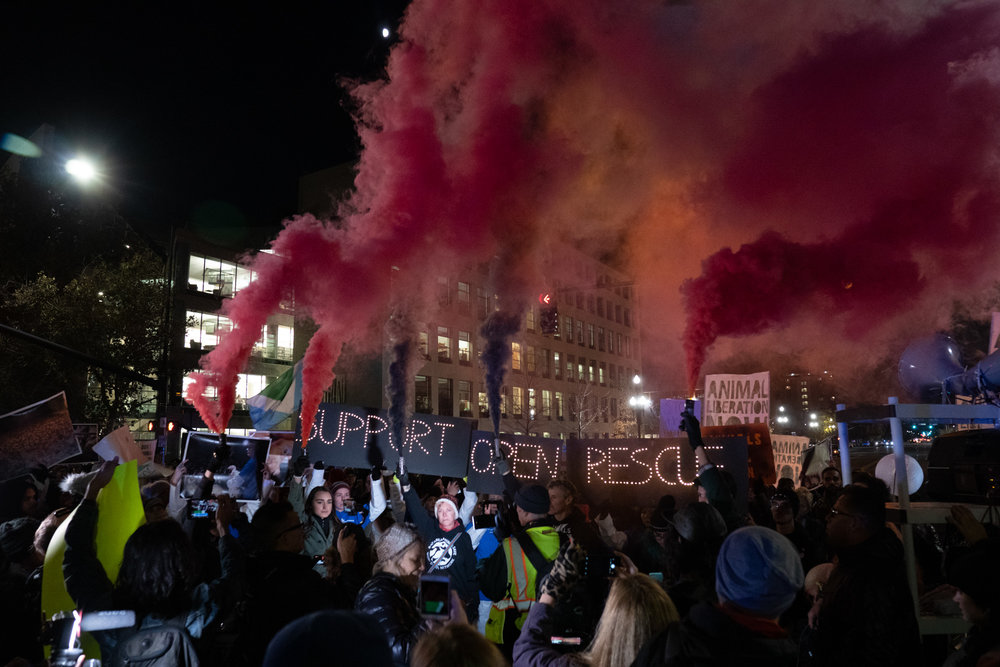
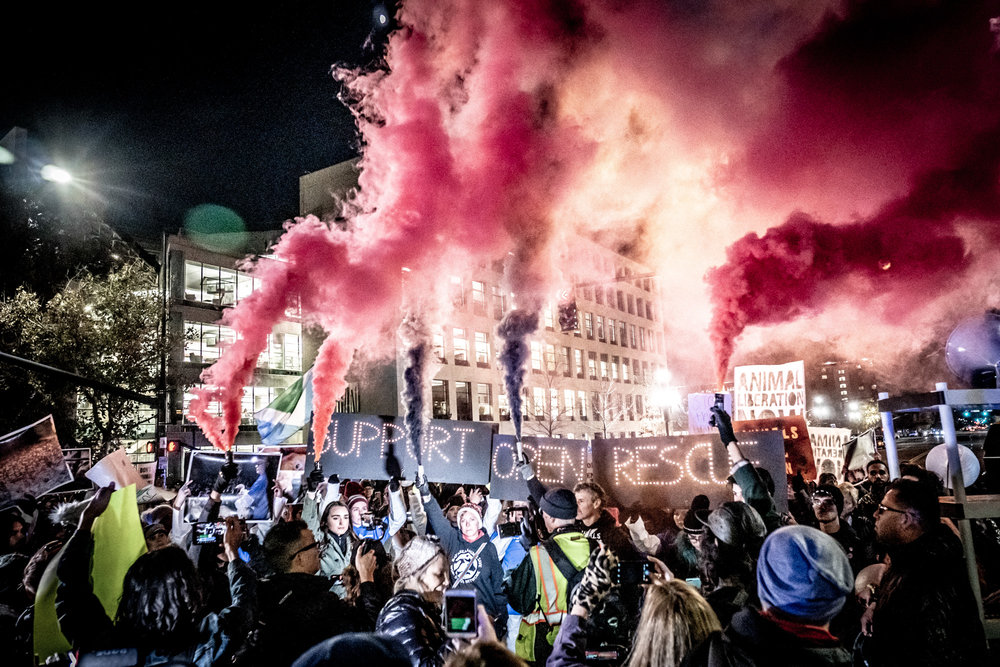
Editing alone will not turn a bad photo into a good photo, but it could turn a good photo into a great photo. I get a lot of complements and questions about the colours, “look” or ”filter” on my photos. I am writing this short guide to show how anyone can achieve those looks easily using Adobe Lightroom. Some of these techniques can be transferable to Capture One or other photo management apps.


In order for these settings to be effective, you need to be shooting in RAW format, and then using Adobe Lightroom to edit.
What is Adobe Lightroom?
“Lightroom is photo management and photo editing, combined into a single tool. Unlike Adobe Photoshop, Lightroom is a non-destructive photo editor, meaning that you don't have to worry about that pesky ‘save as’ button.”
Timing is critical with activism photography. The press team often requires photos right after an action to get them out to the media, so it is important to have a workflow where you can get your photos out quickly.
I tend to take a lot of photos at events, and with my limited computing power and storage, I only import the best photos. My import ratio is roughly 1:8.
Having said that, do not only show your best 5 or so photos. You should aim to have a decent number of useable photos with variety, such as wide shots of large groups, small groups, and close ups of the speakers, organizers or other key people to tell the full story.
Once the photos have been selected, it’s time to import. It is a good idea to apply your baseline settings to all the photos during import. Baseline settings are settings you do to all your photos. This is my own baseline preset. Feel free to try it out and adjust accordingly. Here is a helpful link on how to import a preset.
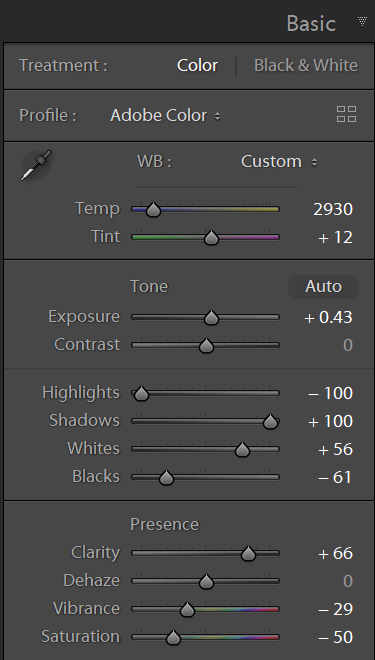
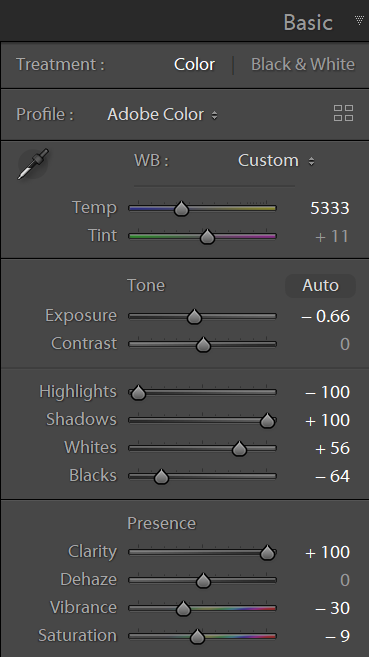
Basic
- Highlights: -100 (this maximizes details in highlights)
- Shadows: +100 (this maximizes details in shadows)
- White: +52 (this sets the amount of highlights you want)
- Black: -62 (this sets the amount of dark shadows you want)
*You should aim to have absolute white and black in all your photos, and maximum details in between
Detail
- Sharpening Amount: 70 (this increases sharpness in the expense of noise)
- Noise Reduction Luminance: 40 (this reduces grains for images shot with high ISO)
Lens Corrections
- Remove Chromatic Aberration: Checked
- Enable Profile Correction: Checked
Effects
- Post-Crop Vignetting Amount: -17 (this darkens the corners and highlights the subject in the middle)
Once imported, quickly individually adjust as needed:
- Temp
- Tint
- Exposure
- Black
Bonus Tip: Select similar photos that require the same settings, and use the Sync Settings button to save time.
Once they are all adjusted, you can export them and have them shared to the press team to choose their favourites. I don’t recommend doing too much cropping at this stage, because the media often needs to do their own cropping to fit the format they need, so it is best to leave the cropping untouched.
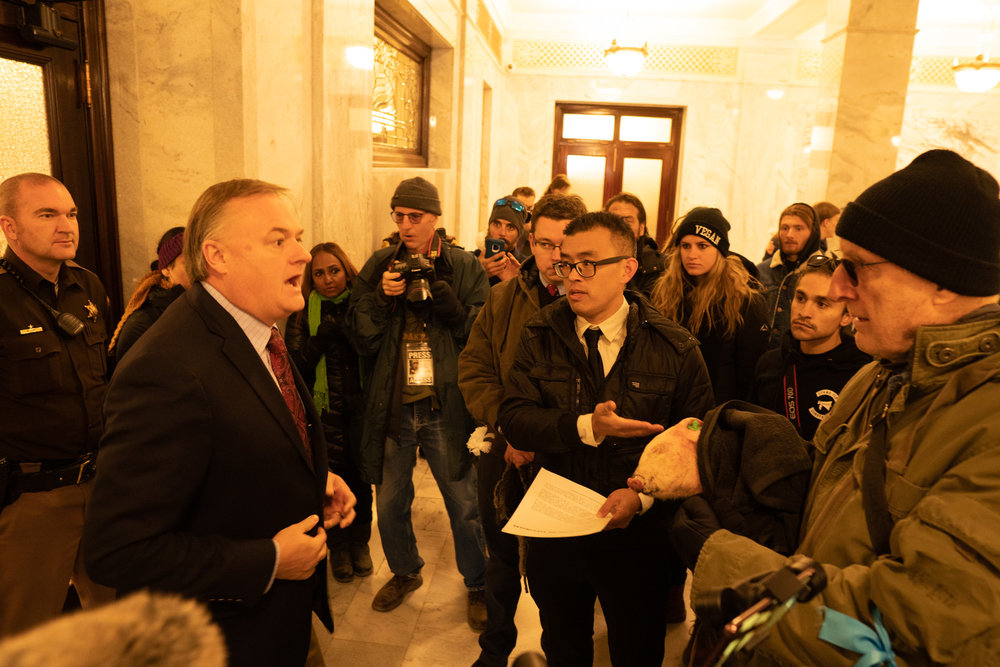
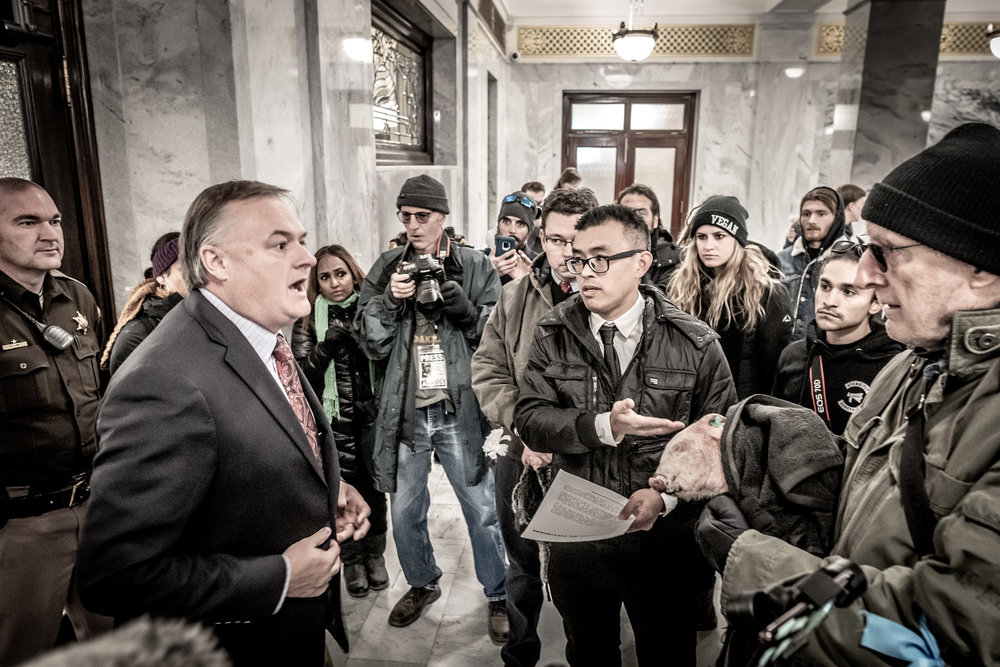
Creative Edits
Now that the first pass edits are done, it is time to take another look at your work. We will cover the following in detail in part 2 of this article. Until then, feel free to play around with these settings on your own.
- Review settings from initial adjustments (Temp, Tint, Exposure, Black)
- Cropping
- Vignetting (Effects > Post-Crop Vignetting)
- Clarity (Basic)
- Vibrance/Saturation (Basic)
- Skin touch up (Brush and Mask)
- Burning and Dodging (Mask)

